How to create Augmented Reality Art? Step-by-Step Guide
Posted on May 29, 2023 5 minutes 1026 words
Table of contents
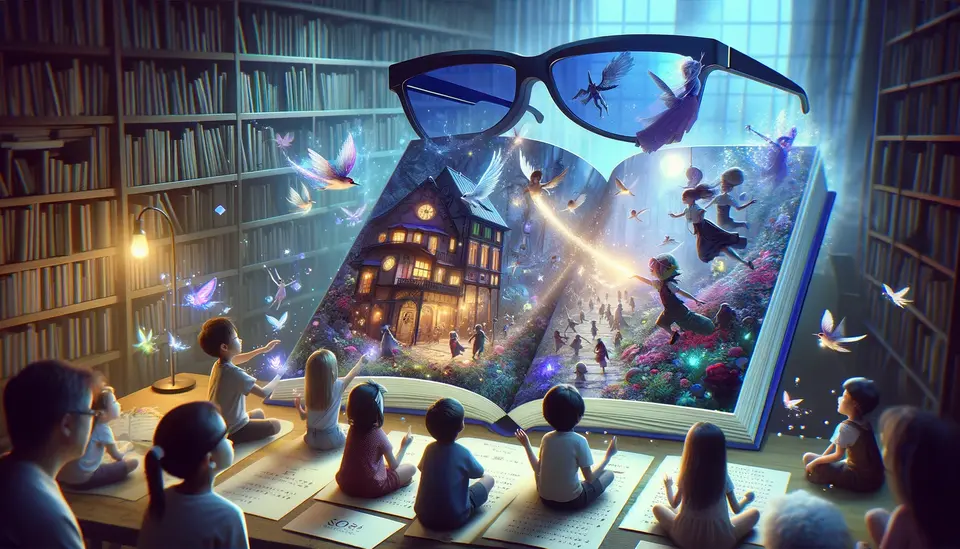
In recent years, augmented reality (AR) has grown from a futuristic idea into a dynamic and accessible medium for artists and creators. AR allows artists to blend the physical and digital worlds, adding an extra layer of interactivity and engagement. Whether you’re a traditional artist looking to expand your skills or a tech enthusiast eager to explore a new creative realm, this guide will provide you a step-by-step process to create your own AR art.
Understanding Augmented Reality
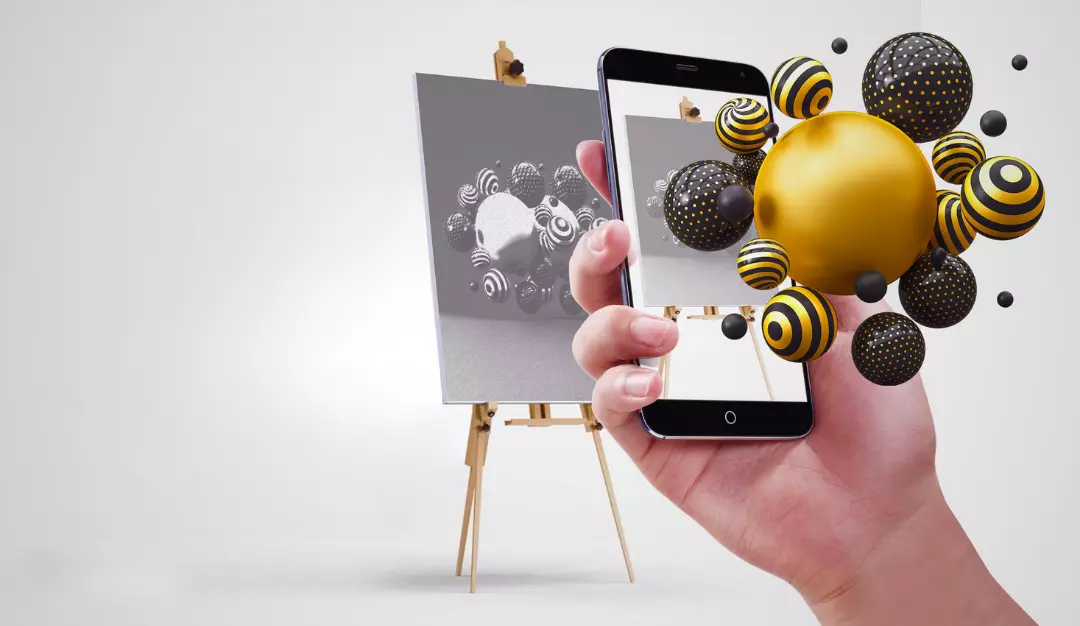
Before diving in, let’s briefly define what AR is. Augmented Reality superimposes computer-generated images, sounds, and other sensory enhancements onto a real-world environment in real-time. With AR, artists can create immersive, interactive experiences that go beyond the constraints of a canvas or screen.
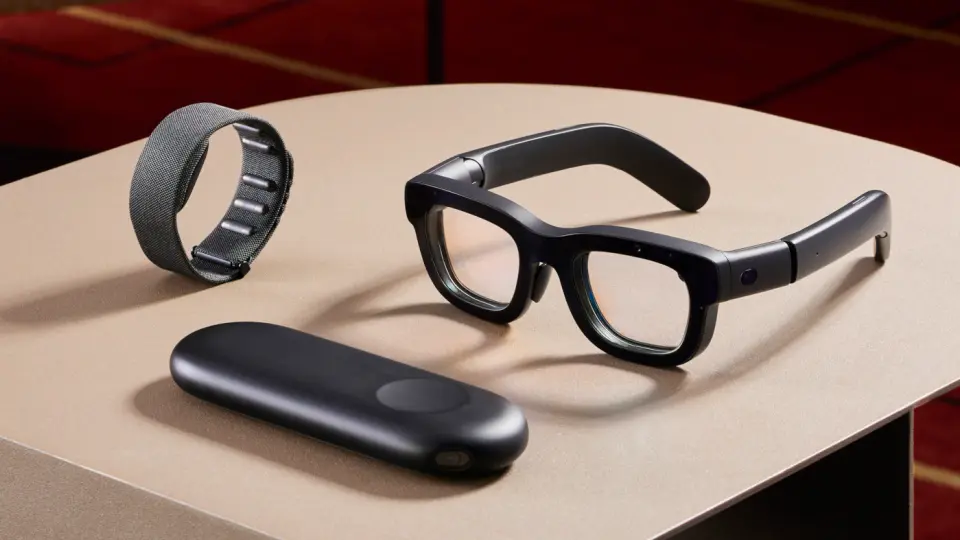
Getting Started: Tools and Platforms
To create AR art, you need a few tools:
-
AR Software: There are several tools available, from free and beginner-friendly software like Spark AR Studio or AR.js, to more professional ones like Unity 3D combined with Vuforia, or Apple’s ARKit and Google’s ARCore for mobile app development.
-
3D Modeling Software: If you want to create your own 3D models, software like Blender or SketchUp can be useful.
-
Image Editing Software: Photoshop or GIMP will help you to edit and create textures for your 3D models.
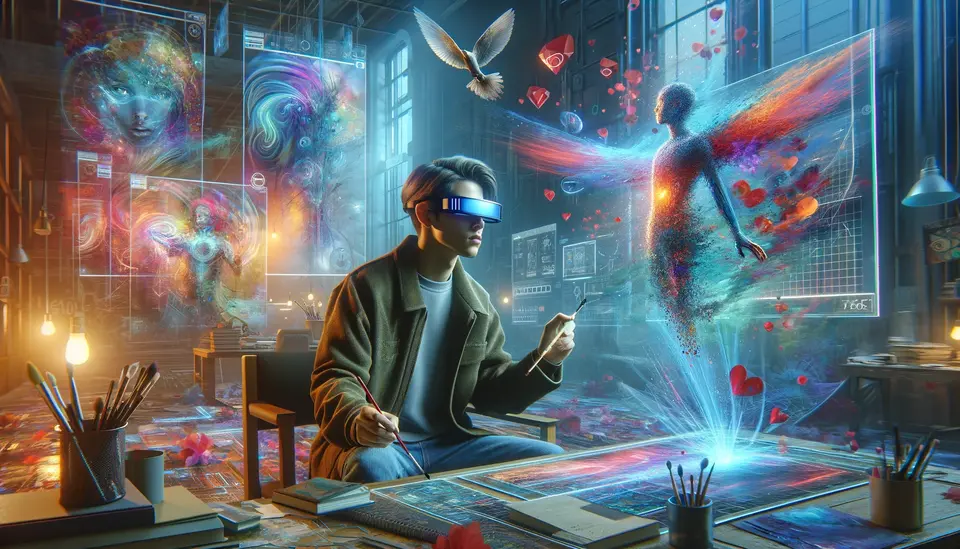
The Seven-Step Journey to Creating Your Augmented Reality Art
Step 1: Concept Development
The first step is to develop a clear and compelling concept for your AR art. Think about what you want to achieve and how you want your audience to interact with your art. Start by brainstorming ideas and jotting down anything that comes to mind.
Next, visualize your idea. You could sketch it out, create a digital mockup, or even make a small physical model. This step helps you to better understand how the digital and physical elements of your AR art will coexist.
Finally, consider creating a storyboard to outline the interaction process for your users. AR is about more than just visual impact; user interaction is a key component of the experience.
Step 2: Create or Source Your Digital Assets
Digital assets are the building blocks of your AR art. Depending on your concept, you might need 3D models, 2D images, animations, sounds, or a combination of these.
You can create these assets yourself using software like Blender for 3D modeling or Photoshop for 2D image editing. If you’re creating animations or sounds, you might use software like Adobe After Effects or Audacity.
Alternatively, you can source pre-made assets from online libraries. Websites like TurboSquid, Sketchfab, and Freesound offer a wide range of free and paid assets that you can use in your projects.
Step 3: Importing Assets into AR Software
Once your assets are ready, it’s time to import them into your AR software. The process will depend on the software you’re using.
In Spark AR Studio, you can drag and drop your assets into the Assets panel. In Unity, you would import your assets into the Project panel.
Take the time to organize your assets properly in your AR software. Good organization will make it easier to work with your assets and can greatly speed up the creation process.
Step 4: Configure Your AR Scene
Now, you’re ready to start building your AR scene. This involves placing your assets in the AR environment and adjusting their properties.
Start by adding your assets to the scene. Position them in 3D space, adjust their scale and rotation, and make sure they’re correctly oriented.
Next, consider the interaction between your digital assets and the real world. Do your 3D models sit on real-world surfaces? Do your digital images align with real-world objects? Use the features provided by your AR software to anchor your digital assets to the real world.
Step 5: Setting Up Interactivity
AR art is interactive by nature, so think about how you want your audience to interact with your artwork.
Perhaps you want your 3D model to animate when a user taps it. Or maybe you want a sound to play when a user points their camera at a certain image.
Most AR software allows you to create these interactions using a visual scripting system. You can set up triggers based on user actions, and define responses to these triggers.
Spend some time learning the scripting system of your AR software. Understanding how to script interactions is key to creating engaging AR art.
Step 6: Testing Your AR Art
Testing is a crucial part of the AR creation process. Because AR involves the real world, you need to test your AR art in a variety of real-world conditions.
Test your AR art in different lighting conditions, and on different surfaces. If your AR art involves user interaction, make sure to test all the interactive elements thoroughly.
Take notes on any issues you encounter during testing, and then go back to your AR software to make the necessary adjustments. This iterative process of testing and adjusting is how you’ll refine your AR art to perfection.
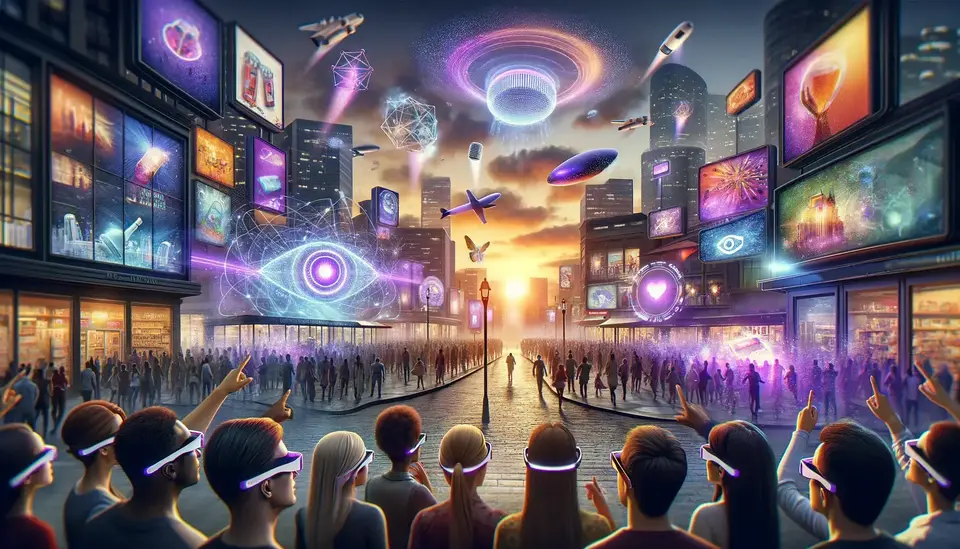
Step 7: Publishing Your AR Art
Once you’re happy with your AR art, it’s time to share it with the world. Most AR software provides a way to publish your AR experiences.
In Spark AR Studio, you can publish your AR effects to Instagram and Facebook. In Unity, you can build your AR experience as an Android or iOS app.
If you want your AR art to reach a wider audience, consider submitting it to AR platforms like Snapchat or Google’s ARCore. You could also showcase your AR art at exhibitions, festivals, or online on platforms like Artivive.
Remember to promote your AR art on your own social media channels too. Sharing behind-the-scenes content or teaser videos can help generate excitement and attract more viewers to your AR art.
Conclusion
AR art is a burgeoning field, rich with potential for unique and immersive experiences. While it may seem intimidating at first, with the right tools and a bit of practice, anyone can begin creating their own augmented reality artworks. Remember, the most important thing is to have fun and let your creativity flow!